Little Priorities: Art

Showing posts with label Art. Show all posts

Spring into Math

I love to do crafts in the classroom.  Unfortunately, seems there is never enough time.  So... I decided to integrate math and art!

Skills: Symmetry and and Three Digit Addition and Subtraction


Trace the butterfly pattern.  This is in the download.  You will need to enlarge it on the copier.


I forgot to take a picture of just the drops but I just hold the bottle of paint upside down and let it drip out.  Try to overlap the colors but not too much because you do not want brown!

Fold the paper in half and smooth out the paper.  You may want a newspaper underneath because sometimes the paint leaks out.  Open up the paper and allow it to dry overnight.


This is a great book for looking at things in our world that have symmetry!


The next day fold it back and cut on the pattern.  Add a folded pipe cleaner to the head.  I like to staple rather than glue so they stay on!!


Add some cute googly eyes and a mouth!


 Give each child 2 or more addition problems and the blank subtraction problems.


Students add the three digit problems with regrouping and then check their work with subtraction.


Glue them to the butterfly and you have some very cute hallway decorations!!


Click the cover to go to my TpT store and pick up the butterfly template and addition problems.

Have fun!


4.G.A.3Recognize a line of symmetry for a two-dimensional figure as a line across the figure such that the figure can be folded along the line into matching parts. Identify line-symmetric figures and draw lines of symmetry.
2.NBT.B.7Add and subtract within 1000, using concrete models or drawings and strategies based on place value, properties of operations, and/or the relationship between addition and subtraction; relate the strategy to a written method. Understand that in adding or subtracting three digit numbers, one adds or subtracts hundreds and hundreds, tens and tens, ones and ones; and sometimes it is necessary to compose or decompose tens or hundreds.


0

Oil and Water Do Not Mix!

We've been discussing how some items can mix together like water and food coloring!  Today we are discussing how some things do not mix together!

In a shallow pan put just enough water to fill up the bottom of the pan.  
Put in drops of food coloring  Move the water just a bit to see how the colors combine together to make different colors.

Then add a 1/2 tablespoon of vegetable oil to the pan.  Students will observe the colors moving around and the water and oil with separate and even cause areas of the pan to not have any water of the bottom.

Using a cardstock paper, place it on top of the liquids.  The students loved the effects.  


0

Color Science

The kids showed a look of awe in their faces today! 

I showed them this and asked what marker did I use to make it?

They listed all the colors they see.  (Blue, Yellow, Purple)
 When I told them I only used one marker they said that couldn't be true!
Then I showed them a black marker!
What?!?  Are you kidding?
Use a watercolor marker to make a large dot in the middle of a coffee filter.  We used Mr. Sketch smelly markers.


Fold the filter 3 times.
Put the tip into a cup of warm water and watch the colors bleed out of the black.  The kids were absolutely amazed!


We had spent time discussing primary colors and how when blended together they make different colors.  During our plant activities, a few days earlier we had blended food coloring together to demonstrate this and then added celery stems to the glasses and let the colors rise into the leaves.    So this is was a great correlation.   I also put up a color poster to demonstrate these mixtures.
.
On another coffee filter we colored the three primary colors in big circles.  I told them it looked like a face


Again fold the filter equally 3 times.  Place the tip into a cup of warm water.


The students could see how the colors blended together.  They all looked a bit different.
The next day after they dried we made them into butterflies.


Please Pin and Follow Me!  I use Bloglovin' to follow all my favorite blogs!


0

Statue of Liberty 3D Art Project

I decided to take a stab at using modeling clay with the class.  They said they would rather draw.  Oh well - teacher wins!  I used the Crayola Modeling Magic.  It takes 72 hours to harden completely.

We looked at various photos of Lady Liberty and discussed why it is the color green.  This site has a lot of quick facts to share: http://www.sciencekids.co.nz/sciencefacts/engineering/statueofliberty.html 


For the base we used a piece of cardboard and a small cardboard box.  We used toothpicks to provide support for the arms and head.

For the paint we mixed together green and white and a little blue.

I feel this was a challenge for them that they need extra practice in!  We'll have to do it again sometime or I'll suggest it to the "real" art teacher!!!
0

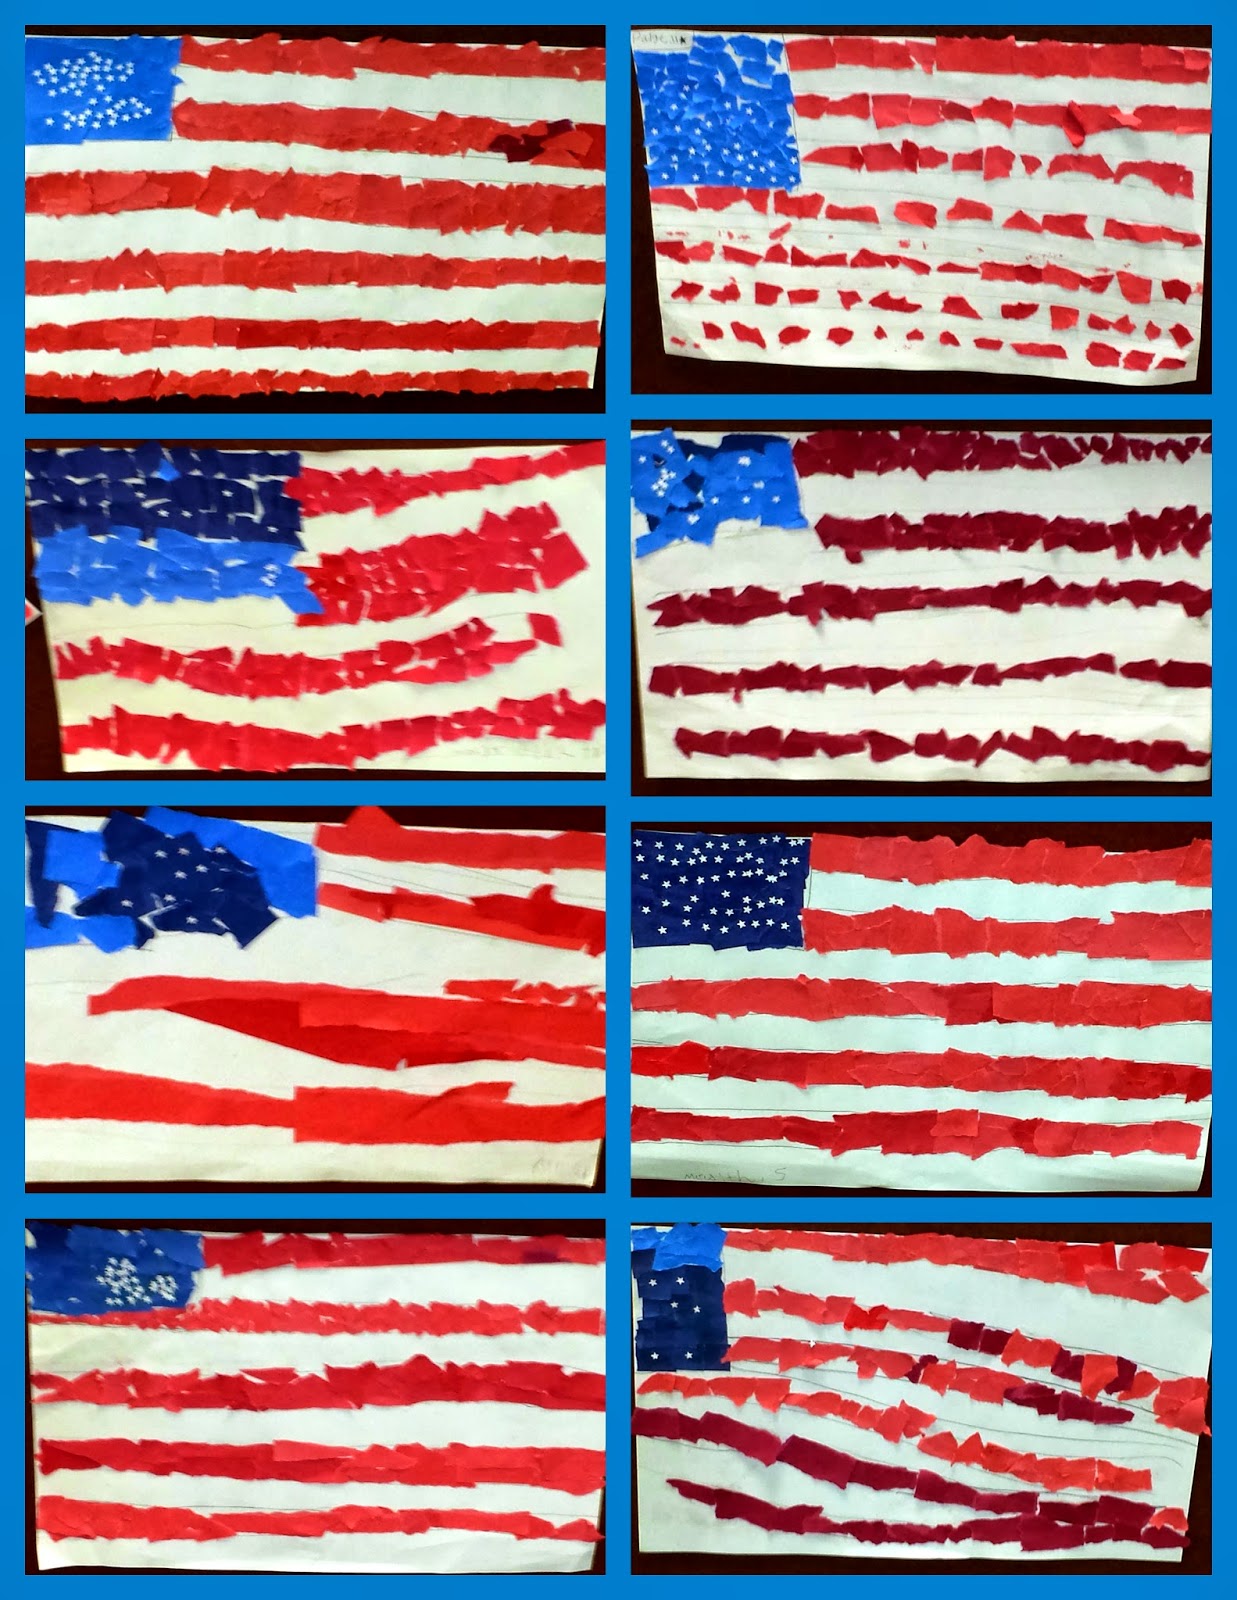
American Flag Art

Students used torn paper to make these.  I offered them various shades and they chose.  This idea came from Deep Space Sparkle by Patty.
The students made these adorable American Flags for the 4th of July!
They decorated the office!  So adorable!


0

Japanese Dragons

I wasn't sure if the class was going to be able to do this project and when I showed them what we were going to do, I got some equal concerns from the class!  I promised them we would work on this step by step!  Deep Space Sparkle (Patty) provides excellent lessons to help guide you and your class!  They did an excellent job and they were pretty proud of themselves!!!  Me too!

Not everyone had finished their project when I took the photos.  They are so involved and are really taking their time to do a good job!
0

Exploding Paint Bags!


In Science Sleuths we had a blast with Exploding Paint Bags!  I found a lot of posts about this on different pinterest sites.  I ended up kind of doing my own thing.

I used about 1/3 cup of vinegar in a zip-lock baggie.  Then I asked the kids what color they wanted.  I used tempera paint.  I put a squirt in each one.  They mixed it up.

I started with the idea of putting the baking soda on a paper towel square and folding it up like a present and then you pop the whole thing in the bag.   This did not allow enough of the baking soda to make contact with the vinegar quick enough.  The bag expanded but did not blow up.

So... we shook the baking soda out into the bags and bang!  They exploded.  The ones that made a smaller pop I believe didn't shake it all in.  I used about 2 Tablespoons.  We put them on poster board!  Look for a flat spot so you don't have running paint although that looked pretty cool too!  Actually better!

They want to do this again!

Please pin this and follow me on Bloglovin for more great fun!
0

Giraffe Art

My K-2 Multicultural Art Class made giraffes with torn paper.  This lesson was purchased from Deep Space Sparkle!  My principal stopped by today and told me she loves what I'm doing with the art classes and why didn't I apply for the art position that was open!  What a compliment!  You need to check out her lessons! So easy to follow!

 This little girl is going into kindergarten in the Fall.  She told me she was tired and didn't want to finish the giraffe.  I started telling her how good she was doing and that I was going to need to take a picture for my blog and boy did she get inspired!  She did a fantastic job!  The author of Deep Space Sparkle does express that students can get tired of the tearing and gluing.  This is especially true with my summer classes lasting 75 minutes long!


I try to hang their beautiful work but I've run out of room!  Check these out!  Please pin if you like!

1

Summer Multicultrual Art Class

I'm not an art teacher but I am having a lot of fun getting all messy!  
I bought all of my lessons from www.deepspacesparkle.com.

This week we are work on art from Africa.


We started the week with making mud huts!  They turned out okay.  I like all the bright colors.

Next the older group worked on Maasai Dolls.


I was really impressed with how much time and effort they put into these projects.  I wish we would have stopped with just the coloring.  We put a wash over the top and took away from the vibrant colors.  I learned for next time.


We then made Wildebeests.  What fun and what a mess.  We worked with Chalk Pastels!  Here are some of the finished ones.  We used tempera puck paint for the scenery.  They worked hard on making the sky have lots of colors.


Monday we will finish Africa with giraffes.  The older group really liked the detailed drawings so I started them on an extra project with drawing Chinese Dragons.  Sorry no pictures!

Keep following for more wonderful updates on their artwork this summer!  Remember to check out Deep Space Sparkle.  She is so talented and her lesson plans are so easy to follow!


0
Related Posts Plugin for WordPress, Blogger...